Contents
Prepare
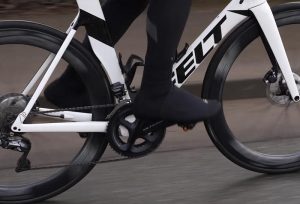
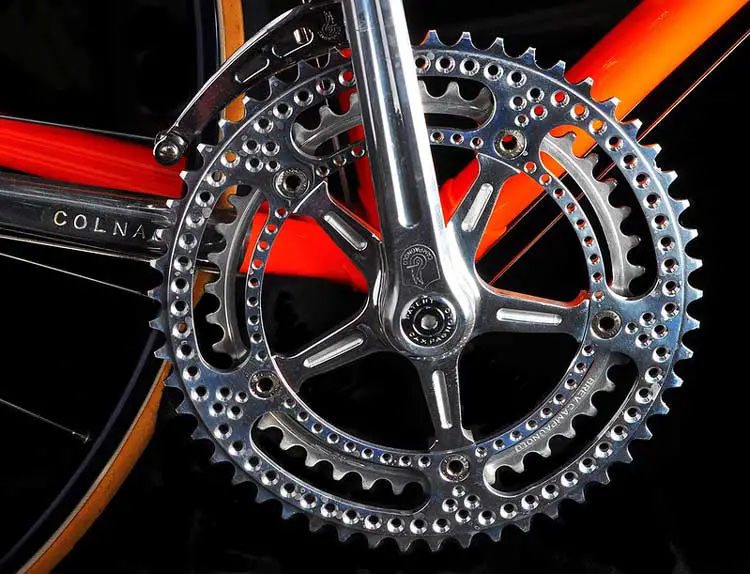
Before you pull a bike crank, you should know the type of crank you have as different types may have a different procedure. Nonetheless, the reason why they need to be taken apart and installed is quite similar – for services such as replacement or cleaning.
You may also want to know your crank length, which is typically indicated and printed on the crank. You will find 170 mm a common size and the chainrings are usually 53/39T for standard and 36/30T for smaller, more compact types.
See also:
How to remove bike crank without a puller
You may wonder how to remove a vintage crankset like a square taper without using a puller tool. There are many suggestions on how to do it but most of those aren’t that good ideas. With that said, let’s break down some of these methods and debunk whether they work or not:
Method 1: Loosen or remove the bolt or nuts
The idea is to loosen or remove your nuts holding the crank arms on and then take the bike out for a ride. As you ride, the arms will slowly loosen up and it might take half a mile or 30 but solely, the arms will loosen up.
With this method, it will ruin the crank arm when you slowly loosen it up. Eventually, this will result in damage to the little mating faces so when you remount them and tighten, they will slowly loosen up over again, as they will never stay on.
If you aren’t that meticulous with crank arms or if you don’t intend to keep them, this is an okay suggestion for you. However, if you want to reuse your crank arms, don’t do this technique.
Method 2: Using a pickle fork
This technique uses a ball joint separator tool known as a pickle fork (it has a wedge shape).
- After removing the nut or the bolt holding the crank arm on, you put the fork section in between the bottom bracket and the crank arm.
- Then, you use a hammer to hammer it down.
With this method, the wedge will go in there and force the crank arm off. The problem is the pounding force and action might do damage to the bottom bracket to the bearings and the recess inside the bottom bracket.
The wedge will push the crank arm off unevenly and it will do some damage to the mating faces inside the crank arm. Even if you get the crank arm off, the bottom bracket and the crank arm can get damaged.
Method 3: Using a hammer to force the crank off
This technique uses brute force to get the crank off. A rubber mallet is used to bang on the backside of the arm. You can also use a block of wood, put it on the back of the arm, and hammer it on that area.
The problem with this method is that the impact will damage the bottom bracket, the bearings, and the recess. Hammering on the arm will cause it to tilt and you also have to deal with the uneven impact, which could ding your parts.
It will cause damage to the faces on the inside of the arm and it might affect the tightness of the components in the future.
Method 4: Use a screwdriver
- Get a flat tip screwdriver and remove the bolt.
- Tap the backside of the arm and close to the spindle using a hammer that was used in the previous method. It would be done in a star pattern a few times on each side.
The problem is that when you hit the center, you might get the twisting motion and it can mar the inside of the faces and the arm. It will also impact the bracket and the bearings and the like.
Method 5: Using a 3-jaw puller
This type of tool is used for automotive work for pulling gears and pulleys. Pulling a crank will be okay with this tool if the threads in the crank arm are stripped out and you can’t use a puller tool.
- Use a socket to go in there to push against it directly.
- Take a nut and just screw it on a little bit loosely to hold the little part push against the spindle.
- Get the little hooks underneath the crank arm and keep them in there while you are doing the pulling.
- Start tightening the top part down and it will pull the crank arm off the spindle.
With this technique, a minor con is that the 3-jaw puller is a little bit pricey. You will find that it is more expensive than the crank puller. Nonetheless, it works great if the threads in the crank are stripped out and you cannot use a puller.
Method 6: Cutting the parts off
If you don’t care about the arms, you can just cut them off. Here’s how to do it:
- Remove the nut from the arm.
- Use a cutting tool such as a Dremel tool that is motorized and cut sections of the arm. You can also use a screwdriver to pry it off open.
With this technique, you can save the bottom bracket.
Alternatively, if you want to save the arm but don’t care about the bottom bracket, you can use a hacksaw:
- Cut the spindle back behind the arm until it is off. You will see that the arm will have the remnant of the spindle.
- Remove the nut of the bolt.
- Take a vise, such as a bench vise.
- Open the jaw wide enough for the spindle remnant to stick down through.
- Use a hammer to punch and knock the remnant of the spindle out of the arm.
With this technique, you have to replace the bottom bracket.
Method 7: A gentler hammer technique
This method is a little more detailed and is a variation of the hammer and screwdriver method but with support at the bottom bracket to avoid impact damage.
- Remove the nut or the bolt using your wrench. Pull the washer out, if any.
- Use a bolt that will fit into the square opening of the crank and rest directly at the end of the spindle. This will act as the protection for impact. Usually, you can find a 7/16-inch bolt for most bikes.
- Octa-link type crank and bottom brackets work with a 3/8-inch bolt, which will fit inside the opening and rest directly against the end of the bottom bracket.
If you have a bottom bracket that has a bolt sticking out of there with a nut that goes on, you can put a sock over the end of the bolt, so long as it goes against the end of the spindle and not against the inside of the crank arm. With this, you can use the 7/16 bolt.
- Take the bolt and mount it in a vise with the end sticking upwards and the spindle rests on the bottom.
- Next, you have to lay the bike down so that the spindle is resting directly on the bolt in the vise.
- If you don’t have an area where a screwdriver could reach, you may have to pound the sides use a bar and a rag to protect from dings. Tap it with a hammer gently.
- Rotate it around 180 degrees and repeat. Keep rotating and repeating the process until you get it evenly as much as possible without damaging the faces inside where it meets up with the spindle.
With this technique, you want the impact as closer to the center as possible. The result is minimized impact to the bottom bracket.
How to reinstall bike crank
To reinstall your crank onto your bike, here’s how to do it:
- Start on the drive side and each spindle; begin slotting the square aperture to about 180 degrees.
- Add grease to your spindle and crank bolts, but not that much.
- Return the bolt and then tighten it.
- Do the same steps to the other side. However, the torque should be definitive, which is usually around 35 to 45 nM.
- The process is similar to both square and Octalink types, except that you now have splines to watch for when installing.
- If your crankset has dust caps, you need to position it properly because it cannot be returned once placed in the wrong way.
Best bike crank puller
If you simply don’t want your other components to suffer, the easiest way is always to use a crank puller. Here are our suggested picks for you (most of which are inexpensive):
1. Park Tool CWP-7 Compact Universal Bicycle Crank Puller
A fan favorite is the Park Tool CWP-7 Compact Universal Bicycle Crank Puller, which will work on the square taper and splined 3-piece cranksets. It has a strong rotating system and it is widely compatible with various systems, such as Shimano Octalink, SRAM PowerSpline, Bosch BNI e-bikes, and ISIS Drive.
It has two rotating tips and it also has a floating-style hardened tip for durability. Aside from standard bikes, it will also work in a fitness bike. However, to make good use of it, make sure that the hole is well-cleaned with WD-40 to avoid stripping.
2. BIKE HAND Bicycle Crank Puller
Yet another budget-friendly tool is the BIKE HAND Bicycle Crank Puller, which is compatible with ISIS Drive and square-taper bottom brackets, including that of road and mountain bikes. It has a strong and precise thread plus heat-treated quality steel for its construction.
Aside from that, it has an adapter for both the ISIS Drive and Octalink type (Shimano splined V1 and V2) cranks. Keep in mind that you do need to buy a spanner separately for it to work.
3. Oumers Bike Crank Extractor and Bottom Bracket Remover
If you need a tool that already comes with a 16mm spanner wrench, the Oumers Bike Crank Extractor/Bottom Bracket Remover is for you. It will work on square-type crank arms, as well as star-tapered types.
Durable alloy steel is used to make this bike crank puller, which is easy to store in a toolbox or bag for emergencies while outdoor biking. The only con is that it will not work with splined cranksets.

