Pumping a bike tire properly is very important because it will help you stay safe on the road. An improperly inflated bike tire will lead to potential accidents and/or difficulty on your journey – regardless of where you take the bicycle with you.
That’s why you need to know how to pump your bike tire. If you are in an emergency and there’s no bike shop or bicycle buddy around, you will need to do it on your own.
See also:
With that, we wrote you a basic guide on how to pump your bike tires to get them back on the road once more.
6 Steps to Pump a Bike Tire
Time needed: 5 minutes
So, how exactly do you pump your bike tires? Here are the steps to do it:
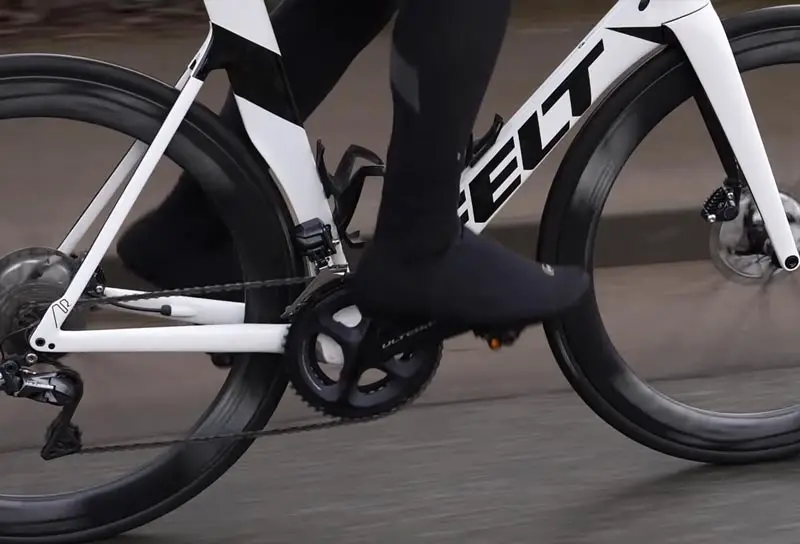
- Know the type of valve
Before you start inflating your bike, you need to know the type of valve it has. The two common types of valves found on bike wheels are the Schrader and the Presta valve. So, how are these two different from each other?
The Schrader valve is quite similar to the valve you will find on a car tire. This type of bike tire valve typically has a wider design and uses a check valve. To inflate a tire that uses a Schrader valve, you need a pump that has a wider hole for it.
On the other hand, the valve type that’s more commonly seen in a road bike is the Presta valve. Compared to the Schrader valve, Presta valves have a slimmer appearance, and thus, use a narrower hole for your bike tire pump. - Take off the dust cap
The dust cap is the outermost cap that covers your valve. Removing the dust cap will not let any air out, so don’t be scared to take it out! Usually, it can be simply twisted off the valve. Put the dust cap somewhere you will not lose it since it is a small item.
- Remove the valve (for Presta valves)
If you have a Presta valve, you will need to unscrew the top area. This will allow you to either add or remove air from the bike tire. Try pressing it after unscrewing – you should hear some air blowing out of the valve.
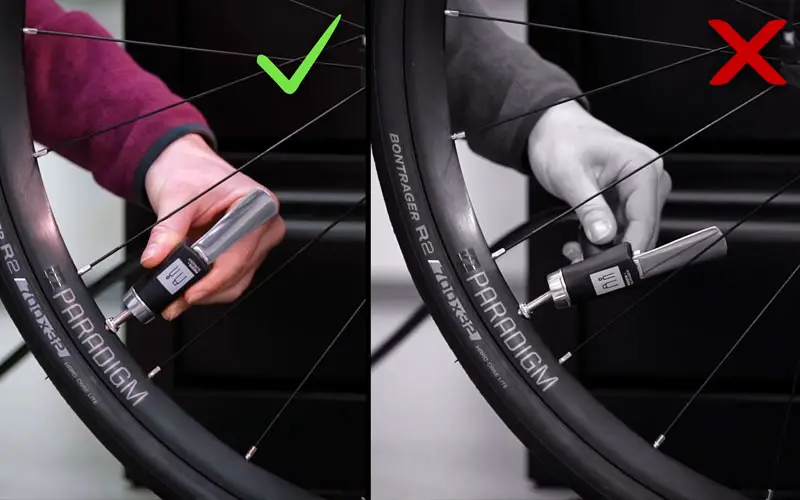
- Attach the pump
As there are different bike tire valve types, there are also various bike tire pumps to choose from – each with its way of connecting to the valve. Some needed to be screwed while others require a forward push to the valve, which requires a strong hand.
Pumps with levers typically just need to be attached. If you see a groove inside your bike pump, however, that means it is meant to be screwed onto your bike rim valve. To make sure, read the user’s manual of your bike pump – the attachment method may also depend on the type of valve you have.
Don’t worry about some air leaking – that’s perfectly normal and can’t be avoided. Eventually, if you lock the pump in place, you will simply replace the lost air. - Start pumping the bike
Now that you’ve connected the bike pump to the tire, it’s time to get pumping! If you easily get tired, you can have someone take turns because pumping a bike requires some pressure and it will also give you a workout even when you haven’t ridden the bike yet!
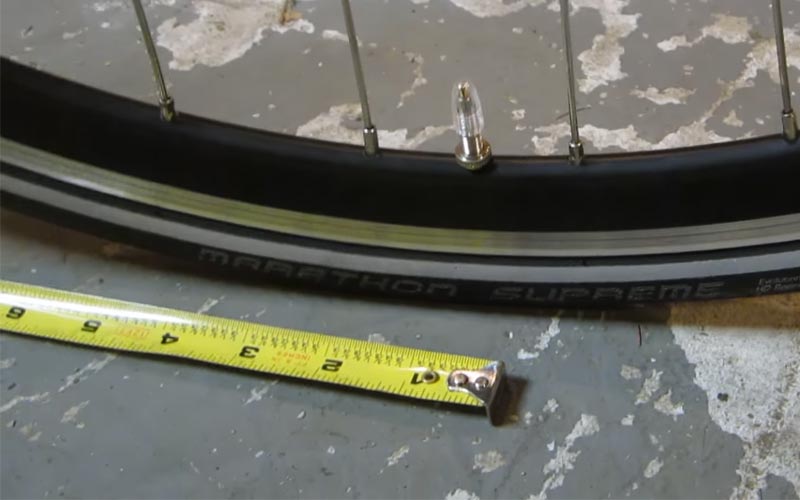
Check the recommended tire pressure, which is typically indicated on the sidewall of the tire. This will allow you to have an idea of when to stop. The pressure can either be in psi or bar depending on what standard of measurement you use in your locality.
Tires that are meant for off-road use require a lower pressure, such as about 30 psi. On the other hand, a road bike that’s more suited for racing will require a higher amount, such as about 80 psi. Aside from that, the exact tire size and the weight of the rider will also play a role in pressure changes.
If you are unsure or if you don’t see the recommended pressure indicated on the sidewall of the tire, you can ask a local bike shop and have it inspected. Remember that pumping a bike tire with too much or too little pressure can be dangerous! Here’s what can happen:
· Too much pressure makes your ride bumpy and prone to accidents
· Too little pressure: excessive friction and a gritty feeling on the bike - Check the pressure and screw in
Once you’ve checked the pressure to be correct or sufficient for your bike tire, simply take out the bike pump hose and screw back the parts that you took back earlier. Test the bike afterward to see if there are any problems.
If your pump doesn’t have a pressure gauge then you can use your thumb which is less
accurate but it’s still useful. So if you press on the tire side and on a road bike you shouldn’t be able to press in very far whereas on a mountain bike you should be able to push by a half centimeter.
Q&A
Here are some frequently asked questions regarding bike tire inflation or pumping:
In most cases, the pin that should be pressed down properly might not be firmly seated on the bike pump. That’s when you realize that the air isn’t getting into the bike tire. To help you out, get someone with stronger hands to press it firmly.
Bike tires will lose air even if you park them for a long time because tires are porous materials. Rubber will still leak out air eventually – especially during hot weather – so we recommend parking your bike in the shade and checking the air regularly.
As a general rule, bikes tires should be inflated every 1 to 3 weeks. However, it still depends on various factors, such as the recommended pressure of your bike tire, the size of your tire, the type of bike you have, how often you use the bike, and others.
Bike tires that need to be inflated are often difficult to maneuver and feel gritty – especially for uphill. A fully-inflated bike tire should be hard enough that you can’t squeeze it. Just to be sure, have a pressure gauge with you when you ride to measure it.