Contents
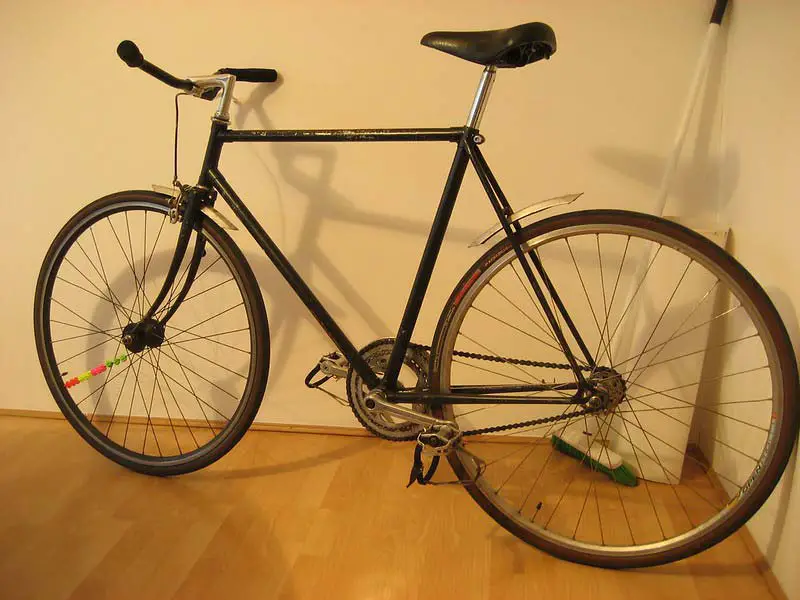
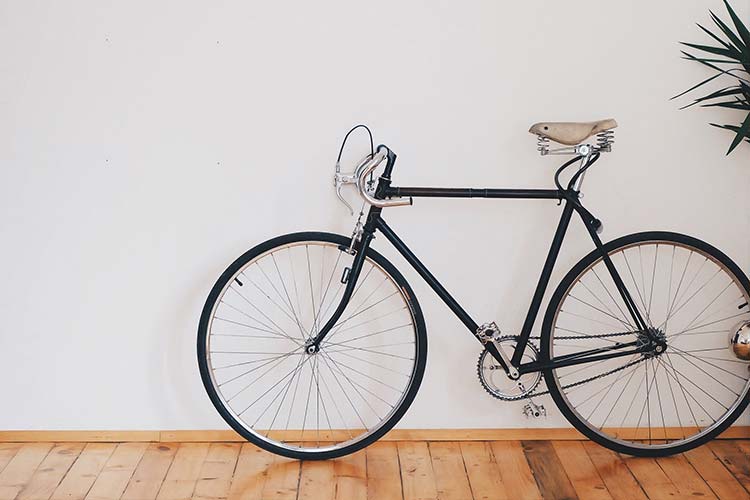
How to tighten a bike chain on a single-speed (fixie)
When you are using a fixie bike (or any other bike, for that matter), chain tension is important for fixed riders since it is a safety issue once your chain turns loose. With that said, if you ride fixed and your chain falls loose, it will cause problems later on.
See also:
On the flip side of the problem, if a chain is too tight, however, it will decrease the lifespan of your drivetrain. When this happens, your drivetrain will get worn out so you have to replace it. This will result in expenses such as having to buy a new chain and chainring. You wouldn’t want such inconveniences!
Moreover, you also lose efficiency when your chain is too tight around the drivetrain. This lack of efficiency will result in less speed, which may mean you won’t pass through tricks and technical sections as well as you did before. Therefore, you should tighten the bike chain on your fixie using the following steps:
Tools you need
- A wrench that fits your nuts
- Work light to make the area visible
How to step by step
When tightening a bike chain for a fixie, you don’t need chain tensioners or any other expensive equipment. With this, you can optionally unscrew your chain tensioner (although that is just a matter of personal preference).
To fix your chain from being loose, and set the tension of your drivetrain correctly, do the following:
Preparation
Here’s the prep work that you need to do before you tighten your bike chain properly:
1. Ensure enough lighting
First, go in a room with sufficient lighting so that you can easily see your chain and all the other bike parts around it. You can also use a work light to make sure that the area is visible.
2. Analyze your bike parts
Tightening a bike chain requires you to focus on 3 main factors when you want to tweak the tension. Take note of the following:
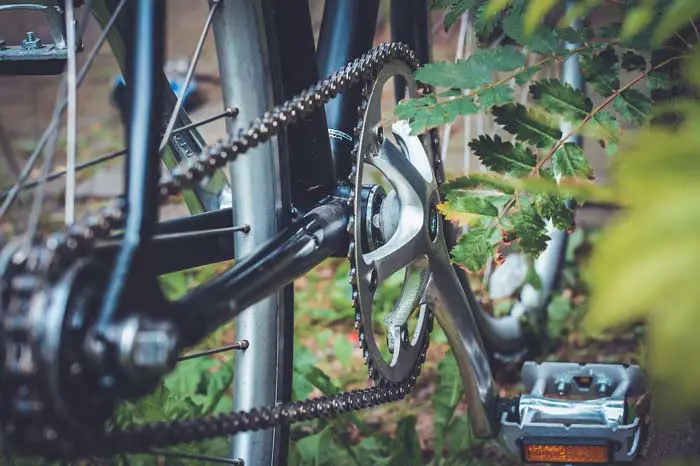
- Chain tension – it should be around 1 inch of slack up and down, which is the general rule of thumb for most bike enthusiasts.
- The wheel should be centered in the frame – use the chain stage as a reference so that it won’t go to either side.
- The nuts should be tight – make sure they are tight so they won’t go slipping off when climbing, skinning, or mashing.
3. Look for the right wrench
When you want to tighten your fixie bike chain, look for a wrench that will fit over your track nut to tighten or loosen it. Usually, track nuts have about a similar size as that of Brazilian nuts (pun intended) so that’s one way to know if it fits your track. Or, you can just check which fits manually.
Working on the bike chain
Now that you have your tools and setup ready, it’s time to tighten your bike chain. Here’s how to do it:
1. Loosen your nuts
The first step is to grab your wrench and loosen your bolts. Work all the way and make sure that your bolts are confined in one place so as not to lose it when it’s time to reconnect your bike parts together.
After doing this step, you may notice that your chain is a little droopy once you are done. Don’t worry – we will tighten it in a second after a few steps later on.
2. Pull the rear axle
Your nuts have been loosened and now the chain is draped over your cog and chainring. With this step, gently pull the rear axle to get some tension. Next, tighten the track nuts without yanking – don’t go too hard on it!
After pulling the rear axle, you now have a bit more horizontal drop-out. In this step, you will see that a bit of tension could still be added if it is still kind of droopy.
2. Tighten one track nut
If your wheel isn’t very centered then it is okay since some fine-tuning can be done. On this step, use your wrench and tighten one track nut (not both). This gives you room to move the wheel and dropdown.
3. Pull the wheel and tighten
The next step is to pull the wheel towards the loose bolt. This pulling method adds a bit more tension. Additionally, it will move the axle back in the drop-out as well.
Likewise, use your wrench to tighten it while you are pulling the wheel. After doing this, you will notice more tension in the chain. Get the wheel closer to the center, go to the other side and loosen the other nut, then repeat the process.
4. Repeat until the chain is tensioned
Perform the process over and over until you find the right tension for the chain and the correct centering for the wheel. Likewise, do the same step for the drive side and the non-drive side.
Pull the rear wheel towards the non-drive chainstay and tighten it up with the wrench just a little bit. This will add even more tension to the chain.
If it is still loose, tighten one bolt and loosen the other bolt, then pull the wheel towards the loose end. Repeat until you get about 1 inch of slack up and down. The result will be that the wheel is centered and you should get the track nuts sufficiently tightened.
Tighten a bike chain with training wheels
A bike with training wheels is not that different from a fixie. If you want to tighten it, here are a couple of steps that you need to follow. After all, bikes with training wheels need to be very safe as kids and beginners will use them.
Tools you’ll need
- A properly-fitting wrench for your nuts
- A well-lit working area
How to step by step
Like handling a fixie, you also don’t need chain tensioners although this depends on your preference. The drivetrain tension is important to fix for a bike chain on a bicycle with training wheels. Here’s how to start:
1. Prepare the bicycle
Make sure that you are in a well-lit room that allows you to see your chain properly. Check the bike parts and take note of anything that needs to be addressed.
The chain tension should have only 1 inch of slack in either direction. It should have a centered wheel and the nuts should be secured as much as possible.
If you have a bike stand, it could help speed up the process while also adding convenience to bike maintenance.
2. Start loosening your bolts
Use the right wrench for your bike chain track nut so that it will work efficiently. Keep the bolts in one place to avoid losing them when it’s time to put the nuts back together to the bike.
Although the chain is slightly droopy at this point, it will be tightened soon. Loosening the nuts gives you more room to pull and adjust the bike chain tension.
3. Start pulling from behind
Pull your rear axle with your droopy chain. This will ensure the addition of tension into your bike chain. Once you have pulled your rear axle, slowly and gently tighten the track nuts.
Although you have already added a significant amount of tension here, it could still be quite loose at some point.
4. Tighten a nut and pull
To do this, use your wrench and tighten one nut and loosen the other. Keep repeating the process until you have a bit more tension. It is important to keep the wheel as close to the center as possible. When you pull the wheel, make sure that you use your dominant hand.
5. Keep pulling until you reach the desired tension
Simply repeat the above process until your chain has been properly tensioned, your wheel has been in the center as exactly as possible, and the nuts are quite tight and secure.
You can repeat the step for both drive and non-drive sides for added tension fixing. Make sure that you have 1 inch of slack in both directions.
5 Step to tighten a bike chain with a derailleur
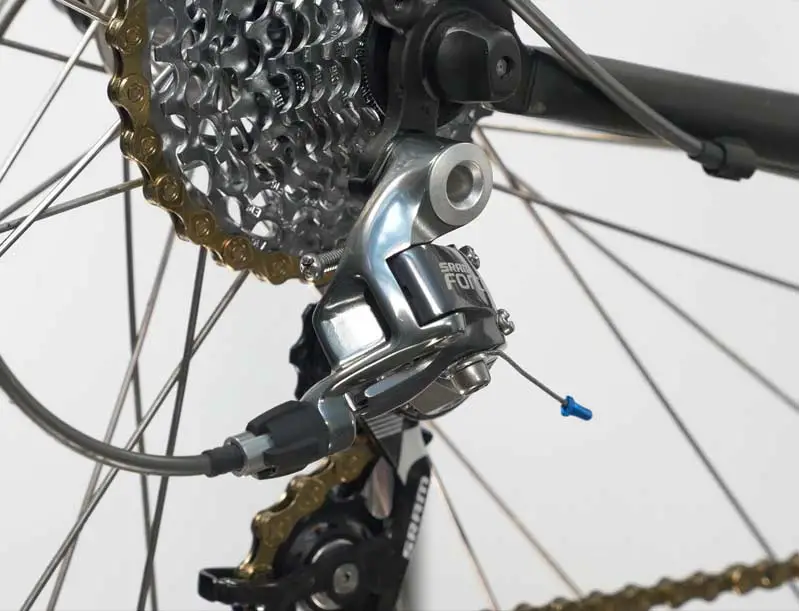
A mountain bike that has a derailleur requires a different process. If you have a loose chain on your mountain bike then it will cause bad shifting. Aside from that, it will also cause the chain to come off the bike. Without further ado, here’s how to tighten a bike chain with a derailleur:
What you’ll need:
- power link (master link) splitter
- chain tool (for tightening, loosening, connecting, disconnecting, etc.)
These tools are usually around $10 each and can be bought easily from a hardware store. This makes the process less tedious and also a little cheaper in terms of repair expenses
Procedure (step by step)
Now that you have your tools, here’s how to tighten a bike chain on a mountain bike (or any bicycle with a derailleur):
1. Spin the chain to its lowest cog
Pick up your pedal and start spinning the bike chain to the lowest cog so you don’t have much tension on the chain. Rotate the pedals until you find the power link (master link).
2. Split your chain link
Next, use your power link splitter tool and undo the power link (master link) on your chain. Push it together like pliers and it should come off with a simple snap. Then, loosen your power links and don’t keep them in the chain to avoid wrecking or damaging your chain.
Give it a little wiggle until it unlatches. Pull the chain out but be sure to not lose the power links. To avoid losing your small pieces, keep your power links in a safe place, such as a small paper towel.
3. Use your chain tightening tool
Now, you will have to use a chain tightening tool. Take out about 2 links at a time so you don’t take out too many. Simply place the chain into the chain tool and twist it.
This method should simply pop out the little pin that’s in the chain. Don’t be afraid to add a little bit of force when necessary.
4. Thread back your chain
Now that you’ve tightened your bike chain on the tool, simply thread the chain back through the derailleur in the right direction.
5. Link the chain back
Use the two ends of the power links together and then gently push them. It should lock into place. Make sure that the power link is greatly secure as this will affect the safety of your bike chain.
Easy way to tighten BMX chain
BMX bike chains can also get loose once you use them more often. This procedure is ideal for those who do not have a bike stand. If your chain is quite loose, here’s a way to fix it:
What you’ll need
- socket wrench with the right size for your back wheel
- for those with pegs, you will need an extension
Procedure
1. Loosen the nuts
First, you will need to disassemble some bike parts. Loosen the axle nuts using the wrench.
2. Start pulling from behind
Apply pressure against the seat with your feet. After that, pull back on the wheel with your dominant hand. When doing this, the tire should not be rubbing against the frame.
3. Tighten the nut
When you reach the desired tension, tighten one side using the wrench.
4. Repeat the process
Do the same tightening to the other side. Go back and forth until you reach the desired tightness.
The result should be a tight chain and the wheel should not be rubbing onto the frame. This whole process will make shredding more efficient.
FAQs
Do you have some questions regarding tightening a bike chain? Read on below to find out more:
The bike chain should be loose or tight
A bike chain that’s looser than 1 inch when you lift it and down need to be tightened. When you have a loose chain, it has inefficient power transfer and this affects the ability of your bike to move you forward.
On the other hand, a bike chain that is too tight will take its toll on the countershaft bearing. It will also likely snap, causing a threat to your safety. Never over-tighten your bike chain.
Why does my bike chain get loose?
Bike chains get loose due to nuts on your rear axle that aren’t tightened properly. Bike chain loosening often happens in a fixie and less often on a bike with a derailleur. Frequent usage will lead to a loose chain, which is why regular inspection is needed.
What happens if my bike chain is too loose?
When your chain becomes too loose, it will make it more difficult for you and the bicycle to pedal forward. The power transfer isn’t that effective, resulting in more effort and less power. It will also result in the drivetrain quickly wearing out.
How tight should a bike chain be?
A bike chain shouldn’t be too tight when binding around the bearings but you don’t want it to be too loose where it falls off while you’re riding.
To correctly measure your bike chain tension, use a tape measure. You will need about half an inch for playing your chain. Measure the chain to see where it’s at without any tension on it. Move it up and see how far it goes up – remember about half an inch of play or movement.
Test it out by taking the chain and pushing it tighter. Turn it and it shouldn’t derail off the front sprocket on the back sprocket.
The bike chain gets loose when pedaling backward
The cross-chaining mechanism causes the chain line to be ruined. A loose chain will happen when you pedal backward because you are pulling on the bottom, which creates something called a chain slack, which will have nothing to land on.
When should I change my bike chain?
A good rule of thumb is to replace your bike chain every 2,000 miles of riding or when your wear reading is at 0.75% or higher. A higher-speed chain, such as 11- or 12-speed may require you to change your chain at 0.5%.
