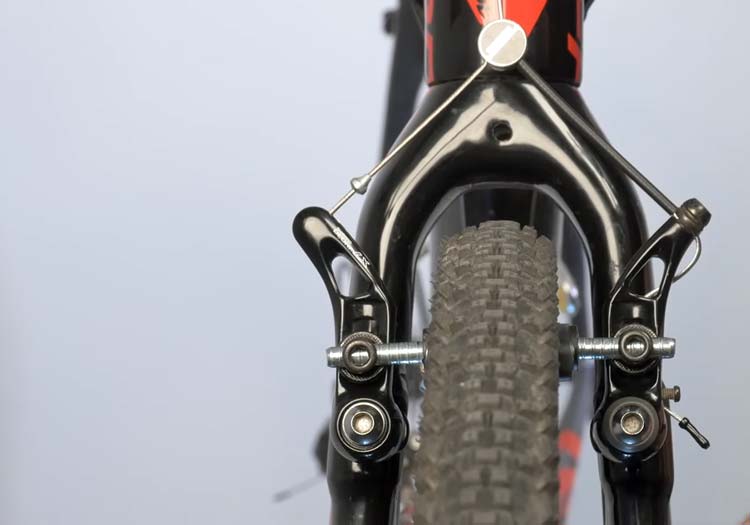
If you have a pricey bike that’s meant for touring, chances are, they’ll have a cantilever bike. Many people aren’t very keen on fixing their cantilever bikes due to the unique mechanism that sets them apart from regular rim brakes.
See also:
With that said, like all kinds of brakes, they also need to be adjusted when they go off to avoid causing inefficiency in braking. Misaligned brake pads will not only cause a lot of wasted energy but could also potentially cause a blowout on your tire.
To play it safe, adjusting your brakes is as important as any bike maintenance procedure. Here’s a tutorial on how to adjust the cantilever brakes on your bike.
Contents
How to Adjust Cantilever Brakes
For adjusting cantilever brakes, you’ll only need a couple of steps and some basic tools that you can easily find in your home garage.
What you’ll need
- 3 mm and 5 mm Allen wrench
- Zip-tie (optional)
Steps on how to adjust cantilever brakes
So, how exactly do you adjust your cantilever brakes? Let’s find out the steps below.
1. Work on the tires/wheels
Before you adjust your cantilever brakes, the first important aspect of your bike that needs to be fixed is the trueness of your wheels. This is important as misaligned wheels will contribute to off-kilter brakes no matter how much you fix your brakes and their parts.
Your bike needs to be taken out of a bike stand (if it is currently mounted on one) to measure the dropout or the trueness of your bike wheels. Use the quick release to adjust the wheels – do this on both the front and the back wheel. Then, return the quick-release levers to their original positions.
Bike wheels should be true because if not, that could still affect your cantilever brake pads once you’ve fixed and adjusted them later on.
After you’ve done that, put your bike back into the stand. If not, you can simply use ropes or anything to hang your bike upwards. The importance of keeping your bike at a level position is so that you’ll easily spot anything that needs to be fixed in the bike, but that’s still depending on your preference.
Another optional tip is to make sure that your tires are properly filled before making any bike brake adjustment, although that’s mostly common sense for many riders. However, it is sometimes overlooked – an improper PSI will cause rubbing commotions on your bike brakes, even though the brake pads are just fine in terms of alignment.
2. Adjust the brake pads
On your cantilever brakes, you’ll see brake pads and they might need to be adjusted if your brakes aren’t that efficient.
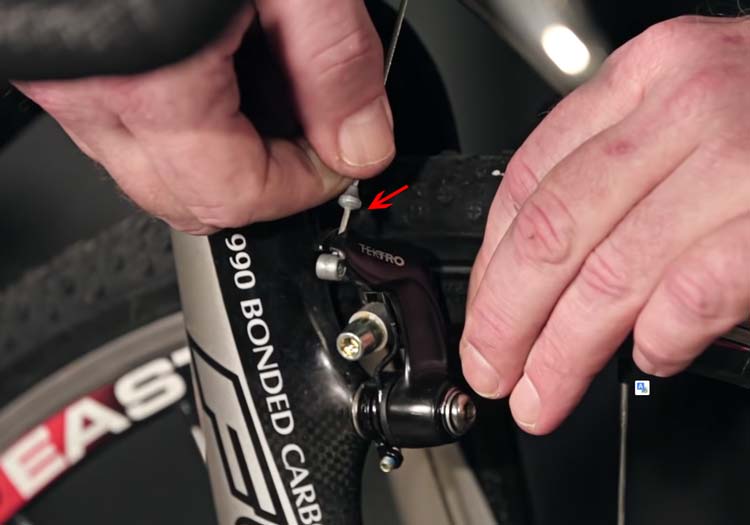
First, the cable on the brake needs to be released to work on your brake pad adjustment. On your brake pad, use a Zip-tie and loop it around the backside and lock it into place. The Zip-tie will make the brake pad have a toe-in.
What this step does is minimize or completely remove the squealing sounds that you might hear when you are applying your brakes. If you don’t have a Zip-tie at home or if you are in an emergency, you can use a rubber band instead.
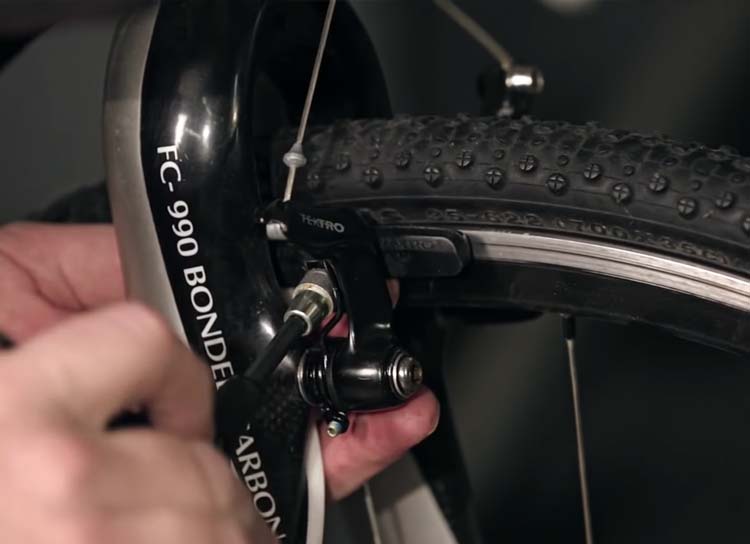
Now, it’s time to align the brake pads. Put the cable back onto the brake pad and connect them back into the bike brake system. Use your 5 mm Allen wrench and release the locking nut. Next, the pad should be pushed upwards when it goes touching the rim.
The idea is to make sure that the brake pad sits on a higher level on the bike rim. Use your Allen wrench to drive the brake pad upwards and then make sure to do a visual inspection after that.
The backside and the front side of the pad should be equal to each other in terms of distance and alignment. Measure their alignment from the rim’s edge.
Check to see that your brake pads are flat on the rim when you test it out. If the pads aren’t aligned properly, there is a tendency that only some parts of the brake pads are hitting the rim, and we don’t want that.
Because there’s a spring mechanism on the cantilever brakes, you may find that it’s a little difficult to adjust the tightness when it comes to locking. Once you are done with one brake pad, simply move to the other pad and do the same procedures.
After that, you can release the cable, as well as the Zip-tie on the brake pads. Then, reattach your cable back into the brake pads.
Test the brake levers to make sure that the pads apply an equal distance from each other to the rim. They should also get close to the rim at a nearly equal time with no delay between each other. That indicates that your brake pads are well-aligned. If you find one brake pad that’s too close or too far, you can adjust it with the next step below.
3. Spring tension adjustment
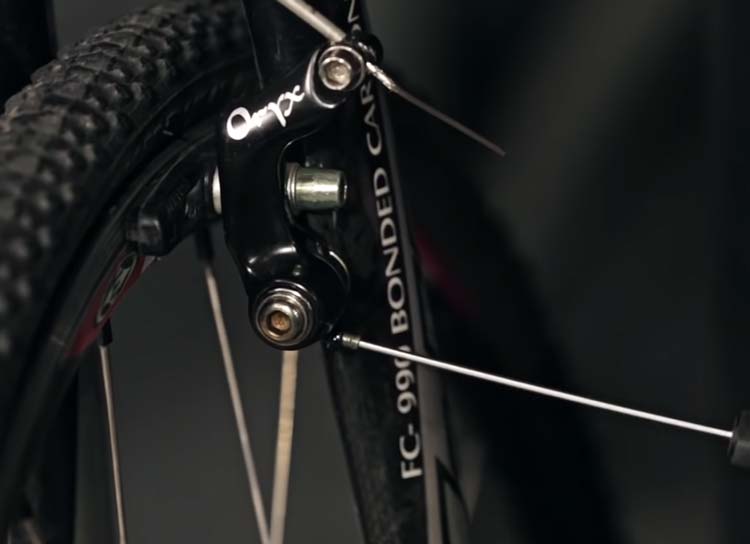
Using a 3 mm Allen wrench, look for a small screw at the bottom corner of your cantilever brakes on one arm side. What this small screw does is that it handles the spring tension on the current side. When you screw it in much tighter, it will add more spring tension onto the pad.
Perform some turns on the said screw and then test the brake pads subsequently using the brake levers. Check visually if your brake pads are aligned properly.
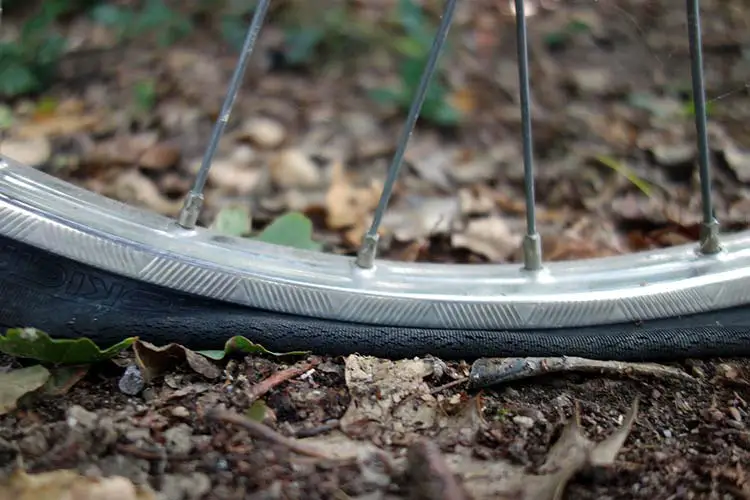
One tip is to make sure that the pads are only staying on the rim and not on the tire. This will help protect the tires from potential blowouts so always inspect if your pads are at the correct height from time to time.
You can also give the bike wheel a little spin to ensure that when it does, it spins smoothly and it will not have squealing or screeching sounds. Perform a visual inspection to see if the brake pads are completely equal on both sides.
